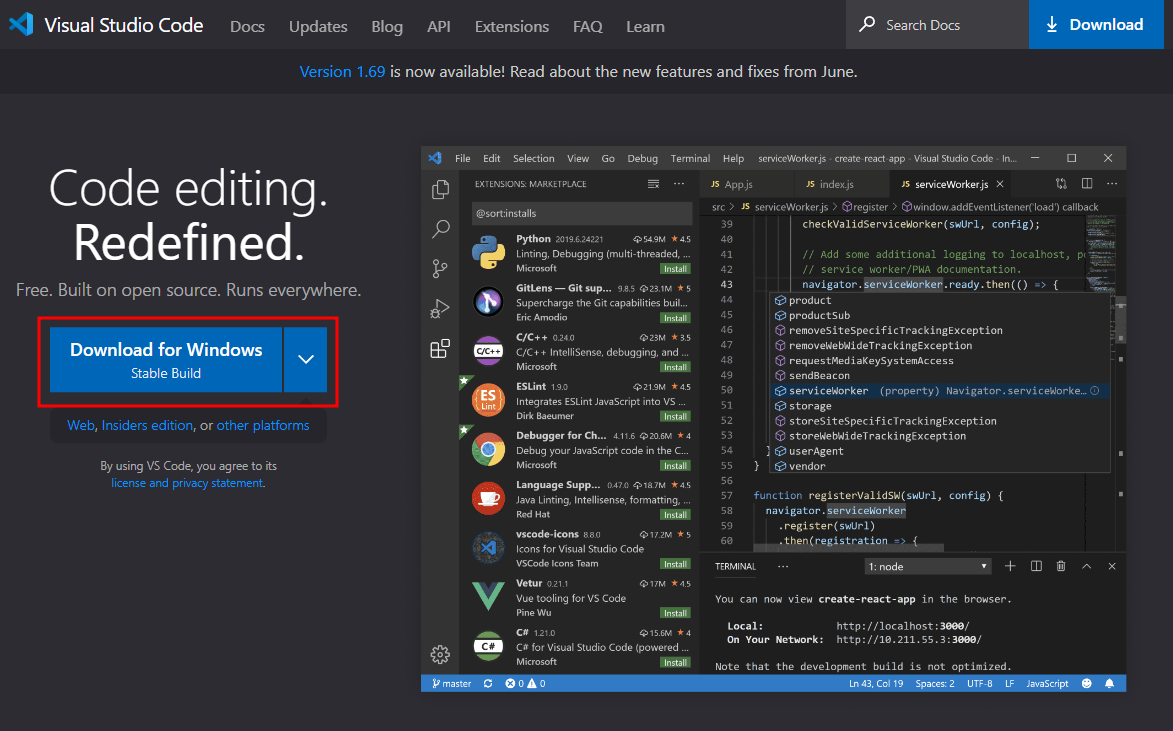
Visual Studio Code를 설치한다.
https://code.visualstudio.com/
Visual Studio Code - Code Editing. Redefined
Visual Studio Code is a code editor redefined and optimized for building and debugging modern web and cloud applications. Visual Studio Code is free and available on your favorite platform - Linux, macOS, and Windows.
code.visualstudio.com

Visual Studio Code 실행 후 확장프로그램에서 C/C++을 검색하여 설치한다.

Visual Studio Code는 컴파일러 제공을 안하기 때문에 MinGW를 설치해야 한다.
https://sourceforge.net/projects/mingw/
MinGW - Minimalist GNU for Windows
Download MinGW - Minimalist GNU for Windows for free. A native Windows port of the GNU Compiler Collection (GCC) This project is in the process of moving to osdn.net/projects/mingw, you can continue to follow us there. MinGW: A native Windows port of the G
sourceforge.net

mingw-developer-toolkit, mingw32-base, mingw32-gcc-g++을 선택해준다. (msys-base는 자동선택 된다.)

선택 완료 후 Installation 클릭, Apply Changes를 클릭한다.

Apply를 눌러 진행한다.

시스템 속성에서 환경 변수를 클릭한다.

시스템 변수의 PATH를 선택 후 편집을 클릭 한다.

C:\MinGW\bin 를 추가하고 확인을 클릭한다. (설치 경로의 bin 폴더로 설정하면 된다.

cmd에서 gcc -v를 입력했을 때 gcc version이 출력되어야 한다.

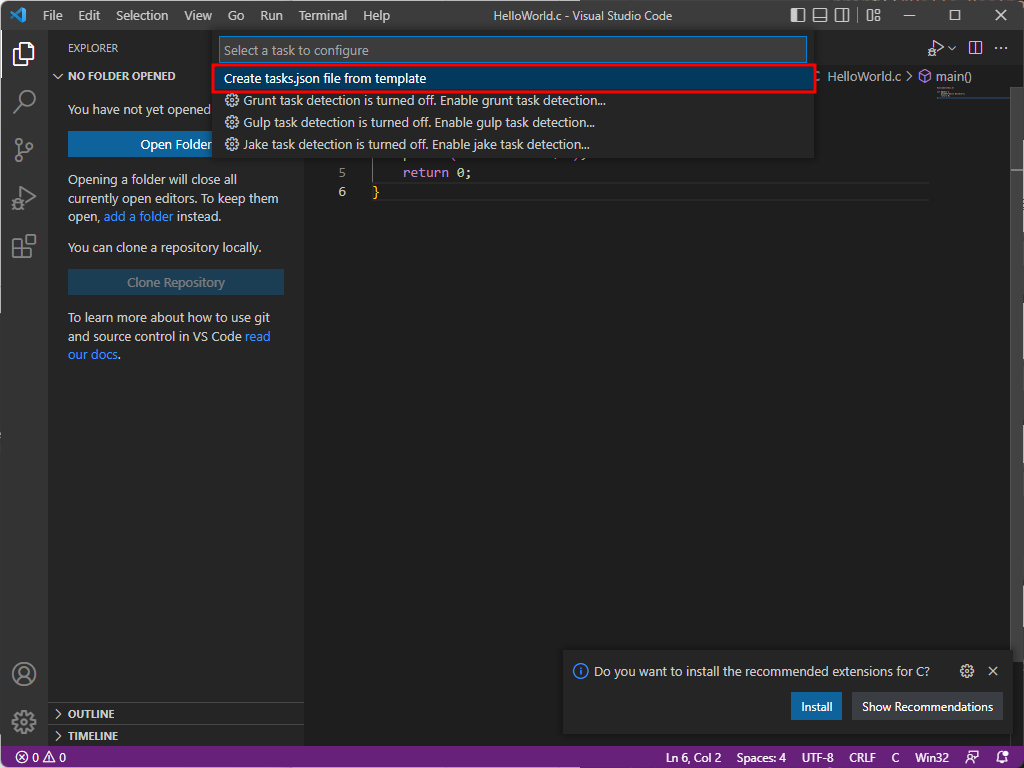
다시 Visual Studio Code로 돌아가서 Terminal 메뉴의 Configure Default Build Task를 클릭한다.

Create tasks.json file from template를 클릭한다.

Others를 클릭한다.

생성된 tasks.json 파일에 아래의 코드를 복붙한다.

{
    "version": "2.0.0",
    "runner": "terminal",
    "type": "shell",
    "echoCommand": true,
    "presentation": {
        "reveal": "always"
    },
    "tasks": [
        {
            "label": "save and compile for C++",
            "command": "g++",
            "args": [
                "${file}",
                "-o",
                "${fileDirname}/${fileBasenameNoExtension}"
            ],
            "group": "build",
            "problemMatcher": {
                "fileLocation": [
                    "relative",
                    "${workspaceRoot}"
                ],
                "pattern": {
                    "regexp": "^(.*):(\\d+):(\\d+):\\s+(warning error):\\s+(.*)$",
                    "file": 1,
                    "line": 2,
                    "column": 3,
                    "severity": 4,
                    "message": 5
                }
            }
        },
        {
            "label": "save and compile for C",
            "command": "gcc",
            "args": [
                "${file}",
                "-o",
                "${fileDirname}/${fileBasenameNoExtension}"
            ],
            "group": "build",
            "problemMatcher": {
                "fileLocation": [
                    "relative",
                    "${workspaceRoot}"
                ],
                "pattern": {
                    "regexp": "^(.*):(\\d+):(\\d+):\\s+(warning error):\\s+(.*)$",
                    "file": 1,
                    "line": 2,
                    "column": 3,
                    "severity": 4,
                    "message": 5
                }
            }
        },
        {
            "label": "execute",
            "command": "cmd",
            "group": "test",
            "args": [
                "/C",
                "${fileDirname}\\${fileBasenameNoExtension}"
            ]
        },
        {
            "type": "cppbuild",
            "label": "C/C++: gcc.exe 활성 파일 빌드",
            "command": "C:\\MinGW\\bin\\gcc.exe",
            "args": [
                "-g",
                "${file}",
                "-o",
                "${fileDirname}\\${fileBasenameNoExtension}.exe"
            ],
            "options": {
                "cwd": "${fileDirname}"
            },
            "problemMatcher": [
                "$gcc"
            ],
            "group": "build",
            "detail": "디버거에서 생성된 작업입니다."
        },
        {
            "type": "cppbuild",
            "label": "C/C++: g++.exe 활성 파일 빌드",
            "command": "C:\\MinGW\\bin\\g++.exe",
            "args": [
                "-g",
                "${file}",
                "-o",
                "${fileDirname}\\${fileBasenameNoExtension}.exe"
            ],
            "options": {
                "cwd": "${fileDirname}"
            },
            "problemMatcher": [
                "$gcc"
            ],
            "group": "build",
//            "group": {
//               "kind": "build",
//                "isDefault": true
//            },

            "detail": "디버거에서 생성된 작업입니다."
        },
        {
            "type": "cppbuild",
            "label": "C/C++: gcc.exe 활성 파일 빌드",
            "command": "C:\\MinGW\\bin\\gcc.exe",
            "args": [
                "-g",
                "${file}",
                "-o",
                "${fileDirname}\\${fileBasenameNoExtension}.exe"
            ],
            "options": {
                "cwd": "${fileDirname}"
            },
            "problemMatcher": [
                "$gcc"
            ],
            "group": "build",

            // "group": {
            //     "kind": "build",
            //     "isDefault": true
            // },

            "detail": "컴파일러: C:\\MinGW\\bin\\gcc.exe"
        }
    ]
}
이제 편리하게 사용하기 위해 단축키를 설정해야 한다.
File 메뉴의 Preferences - Keyboard Shortcuts를 클릭한다.

검색창에 keybindings.json이 있으면 클릭하고, 없다면 우측 상단의 아이콘을 클릭한다.

keybindings.json 파일에 아래의 코드를 붙여넣는다.

// Place your key bindings in this file to override the defaults
[
    // 컴파일
    {
        "key": "ctrl+alt+c",
        "command": "workbench.action.tasks.build"
    },
    // 실행
    {
        "key": "ctrl+alt+r",
        "command": "workbench.action.tasks.test"
    }
]
c언어로 코드를 작성 후 ctrl+alt+c 를 입력하면 컴파일 언어를 선택할 수 있다.
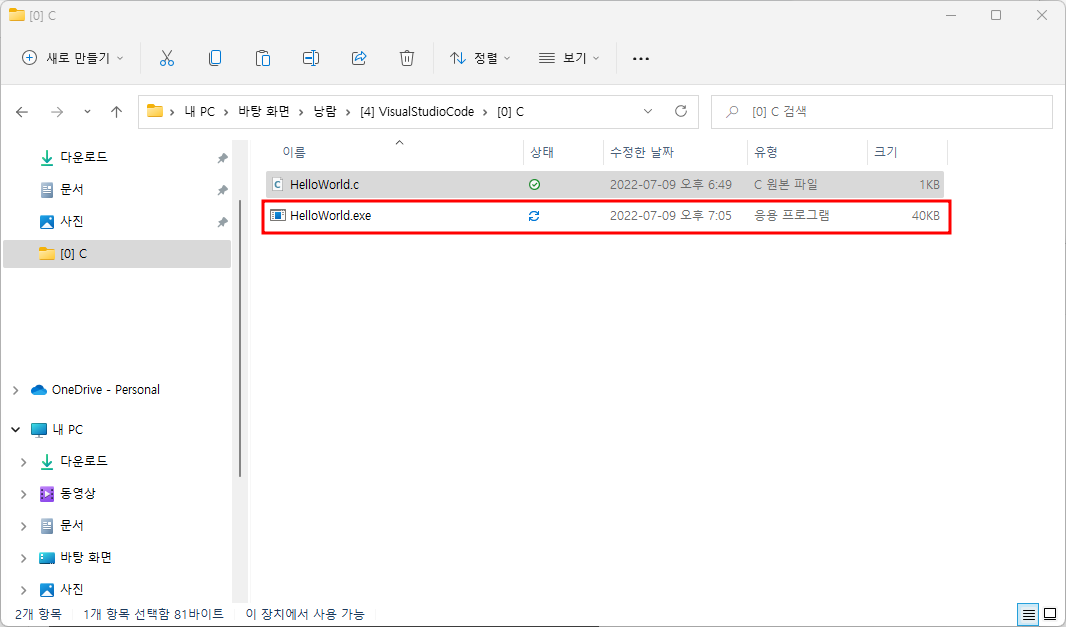
save and compile for C를 클릭하면 컴파일이 된다.


ctrl+alt+r 를 입력하면 바로 실행이 가능하다.

'메모.' 카테고리의 다른 글
| Frida 사용 시 주의 사항. (1) | 2023.03.14 |
|---|---|
| C언어 문자 입력 받을 시 주의사항 #문자 인식 못함, 문자 오류 (0) | 2022.07.30 |
| Visual Studio Code 한글 깨짐 해결 #VSCode (1) | 2022.07.12 |
| VMware workstation 15 블루스크린 해결 #System Service Exception (0) | 2022.07.11 |
| Windows 11 Git 설치 #GitHub (0) | 2022.07.10 |


댓글